Since I know many of you are, one way or another, involved into weddings whether it be as a friends, family or wedding photographers it is always nice to have some cool photos from the occasion. So, I thought I’d show you how to decorate a wedding photo with Photoshop brushes.
In this particular example we used two different brushes from two different brushes sets:
Here is the final outcome:
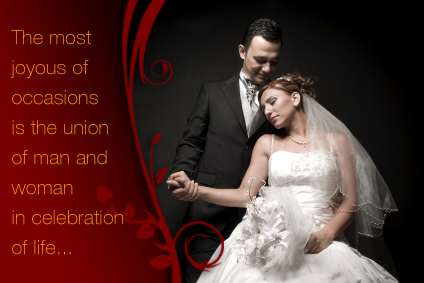
And here is how we got there.
1. Load a plain photo in Photoshop
2. Load first brushes set, in this case Swirls 2, Photoshop brushes set, 36
2. Load first brushes set, in this case Swirls 2, Photoshop brushes set, 36
(Click here if you need to find out how to load and use brushes into Photoshop->)

2. Place the first brush on the photo like this:
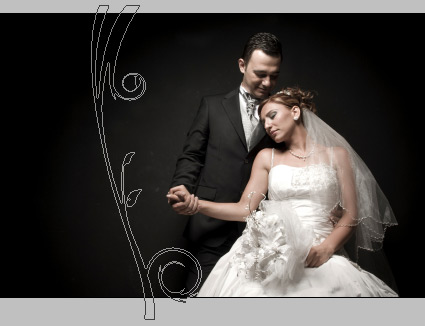
3. Load second brushes set, in this case Photoshop Brushes – Floral Shapes (37)

4. Place that second brush it on the top of the first one so that it creates one new shape
(Find out how to color the brush ->)
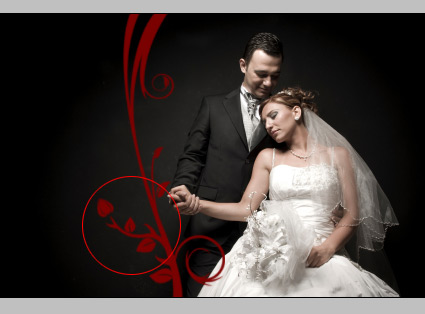
5. Now, the time has come to color the right part of the image. First we need to make a selection, to do that – use Polygonal Lasso Tool (L)
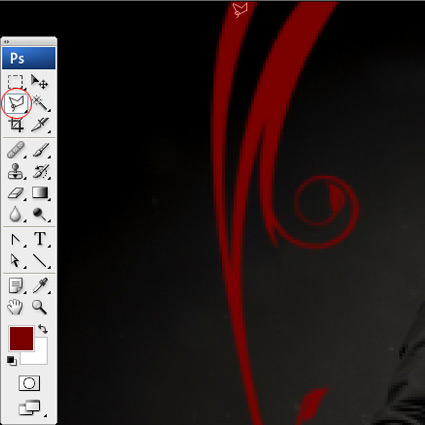
6. Close the path: join beginning and the ending points
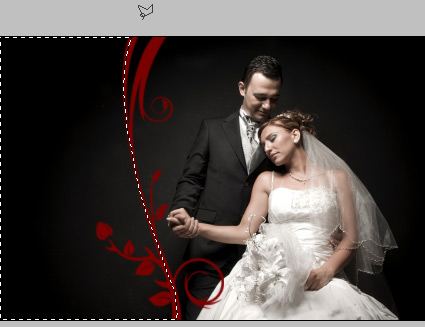
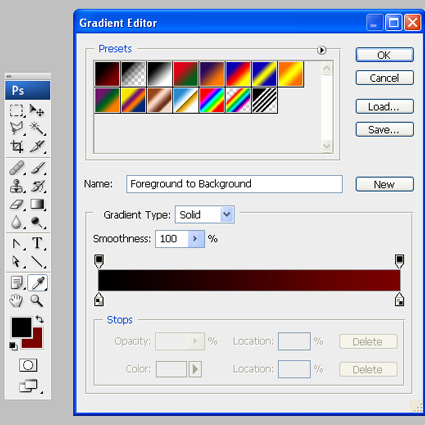
7. Click on Gradient Tool (G). Now click and on the gradient itself (upper left corner) and adjust the colors until you get something like this (or whatever look you prefer)
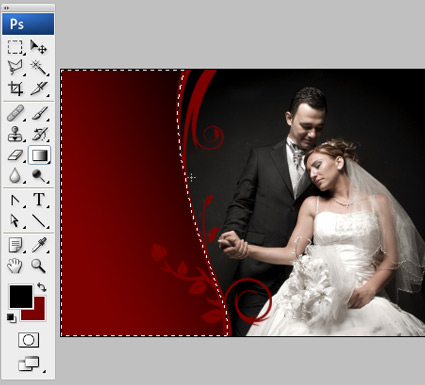
8. Drag the gradient with the mouse from upper left corner to the bottom right corner
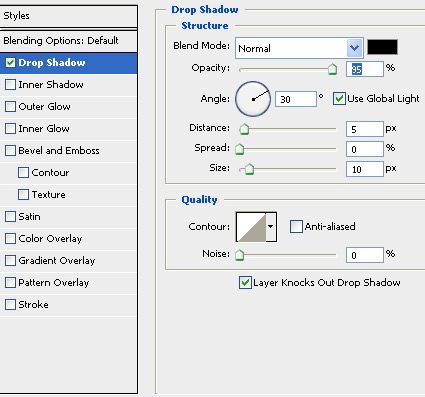
9. Add some drop shadow on the first brush to enhance the visual effect. Double click on the layer thumbnail to get the “Layer style Pop-Up window”, checkmark the Drop Shadow box.
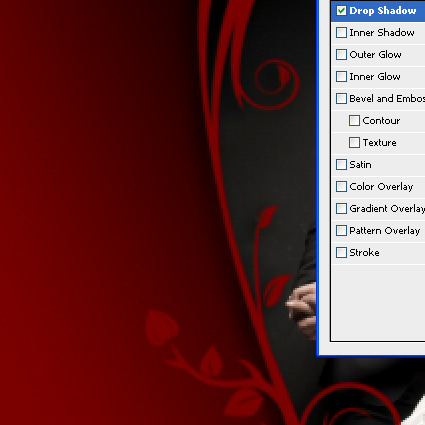
10. Adjust the drop shadow settings like this
And voila!
Add text and here is our newly decorated wedding photo!

I hope you liked it! I tried to make it as simple as possible but if there are some steps that are not completely clear please let me know.
Love,
Silvia
Silvia
P.S.
Of course, don’t forget to browse through my little shop for some cool brushes and stuff :)